

Building the App Was the Easy Part — The App Store Is Where No-Coders Get Stuck

Introduction
No-code is supposed to unlock the world of app creation for everyone — and in many ways, it delivers on that promise. Platforms like Bubble, Adalo, and even DC Codes’ own GetAppQuick, our AI-powered app builder, let founders spin up polished apps without hand-coding. Yet, as many heated r/nocode Reddit threads point out, the truly daunting part often comes after you’ve built your app: getting it into the App Store.
For first-timers, it’s an emotional rollercoaster. Your app works. Your users are excited. All you need to do is “publish.” But suddenly you’re hit with a barrage of new, technical requirements — Apple certificates, developer program registrations, provisioning profiles, review checklists, and unexpected rejections. The bottleneck isn’t building the app; it’s everything that comes after.
In this post, we pull back the curtain on these last-mile hurdles. We’ll break down the biggest snags non-technical founders face when launching mobile apps, share real-world solutions (including how GetAppQuick smooths the way), and give you code-level tips for when a little technical work is unavoidable. If you’re on the verge of shipping your first app, or want to help your users cross the finish line, read on.
The "No-Code Cliff": Why Launching Is Harder Than Building
Building an MVP has never been easier. Choose a template, drag and drop your UI, connect a few services, and voilà — you’ve made an app. But publishing to the App Store or Google Play? That’s where the “no-code cliff” often appears.
Where Non-Technical Founders Get Stuck
Let’s break down the most common traps:
- Certificates and Provisioning Profiles: Apple requires every app to be signed with a developer certificate and matched to a provisioning profile. This process is confusing even for experienced developers.
- Developer Accounts: You need to enroll and pay for a developer account (Apple: \(99/year, Google: \)25 one-time). The registration process has hidden gotchas, especially for organizations.
- App Review Hurdles: Both Apple and Google enforce strict guidelines. Metadata issues, missing privacy policies, or backend misconfigurations can trigger vague rejections.
- Release Management: Releasing updates, managing TestFlight testers, and setting up push notifications all require steps outside the drag-and-drop builder.
It’s easy to underestimate these hurdles until you’re staring at a cryptic Apple error message or waiting days for a review rejection.
Certificate Soup: Decoding Apple’s Code Signing
If you’re shipping to the iOS App Store, you’ll encounter certificates, provisioning profiles, and entitlements. Here’s what’s going on:
- Certificates prove your identity as a developer.
- Provisioning Profiles specify which devices or users can install your app, and what features it uses.
- Entitlements are permissions (like push notifications) you enable in Xcode or your app builder.
Why Does This Trip People Up?
- Most no-code tools automate some of this, but not all.
- Apple’s process changes yearly; documentation is scattered.
- Errors are opaque: “Missing provisioning profile” or “Code signing identity not found” may halt your launch with little guidance.
Real-World Example: Flutter App iOS Build
Suppose you want to export your Flutter app for the iOS App Store. Even with a no-code builder, you might need to manually sign your build.
Here’s how you’d set up code signing in Xcode:
# Navigate to your iOS project
cd ios/

# Open in Xcode
open Runner.xcworkspace
In Xcode:
- Go to the “Signing & Capabilities” tab.
- Select your Team (linked to your Apple Developer account).
- Ensure a valid certificate (“Apple Development” or “Apple Distribution”) is selected.
If you’re using a CI/CD pipeline or automated builder like GetAppQuick, much of this is handled for you — but if you see a code signing error, you’ll often need to download the correct .p12 certificate and provisioning profile from Apple’s developer portal.
Developer Accounts: The First Gatekeeper
Before you can ship your app, you need to register as a developer:
- Apple Developer Program: $99/year. Requires D-U-N-S number for organizations, legal agreements, and identity verification.
- Google Play Console: $25 one-time fee. Simpler, but still requires identity validation.
Organizational Pitfalls
If you’re building an app for a business, Apple requires you enroll as an Organization, not an Individual. This often surprises founders and can delay launch by weeks.
- Organization enrollment requires a D-U-N-S number, which can take time to acquire.
- You will need to prove your legal authority to sign contracts on behalf of the business.
No-code founders frequently post on r/nocode or StackOverflow frustrated by these opaque requirements.
App Review Hurdles: The Last Mile
Even after you’ve navigated certificates and developer accounts, the App Store review is its own gauntlet. Here’s what often catches no-code founders by surprise:
1. Metadata and Screenshots
- Apple and Google require specific screenshot sizes; auto-generated ones often don’t pass.
- The app’s description, privacy policy, and support URL must be filled out accurately.
2. Privacy and Compliance
- Apps must declare data collection, tracking, and provide a privacy policy.
- Integration with third-party services (analytics, ads, etc.) must be disclosed.
3. Functionality and UX
- Apple rejects apps for being too “template-like,” or lacking meaningful functionality.
- Broken links, test credentials, or “work in progress” UIs are grounds for rejection.
4. Backend and API Issues
- If your app depends on a backend, it must be reachable and production-ready.
- Many first-time launches fail due to test servers going offline or misconfigured APIs.
Example: Flutter App Privacy Policy Link
If Apple flags your app for missing a privacy policy, here’s a simple way to add one to a Flutter app:
// In your Flutter app's About page
TextButton(
  onPressed: () {
    launch('https://yourcompany.com/privacy');
  },
  child: Text("Privacy Policy"),
)
This tiny detail can save days of review back-and-forth.
No-Code Builders: Where Do They Help, Where Do They Fall Short?
Modern no-code builders smooth over much of the technical grunt work — but not all. Here’s a breakdown:
What No-Code Platforms Usually Handle
- Generating a valid app binary (APK/IPA)
- Pre-configured permissions and basic entitlements
- Guidance on developer account setup
- Export options for App Store and Google Play
Where You Might Still Need Technical Help
- Customizing info.plist (iOS) or AndroidManifest.xml (Android) for advanced permissions
- Configuring push notifications (especially on iOS)
- Connecting to proprietary or legacy backends
- Resolving edge-case App Store rejections
GetAppQuick Spotlight: Smoother Launches for Non-Developers
At DC Codes, we built GetAppQuick with these pitfalls in mind. Our AI-powered builder integrates publishing steps into the app creation flow, so you’re not left stranded at launch.
Example: Guided Certificate Setup
When exporting for iOS, GetAppQuick detects your developer account status and walks you through uploading certificates or generating them on your behalf, with visual explanations at each step.
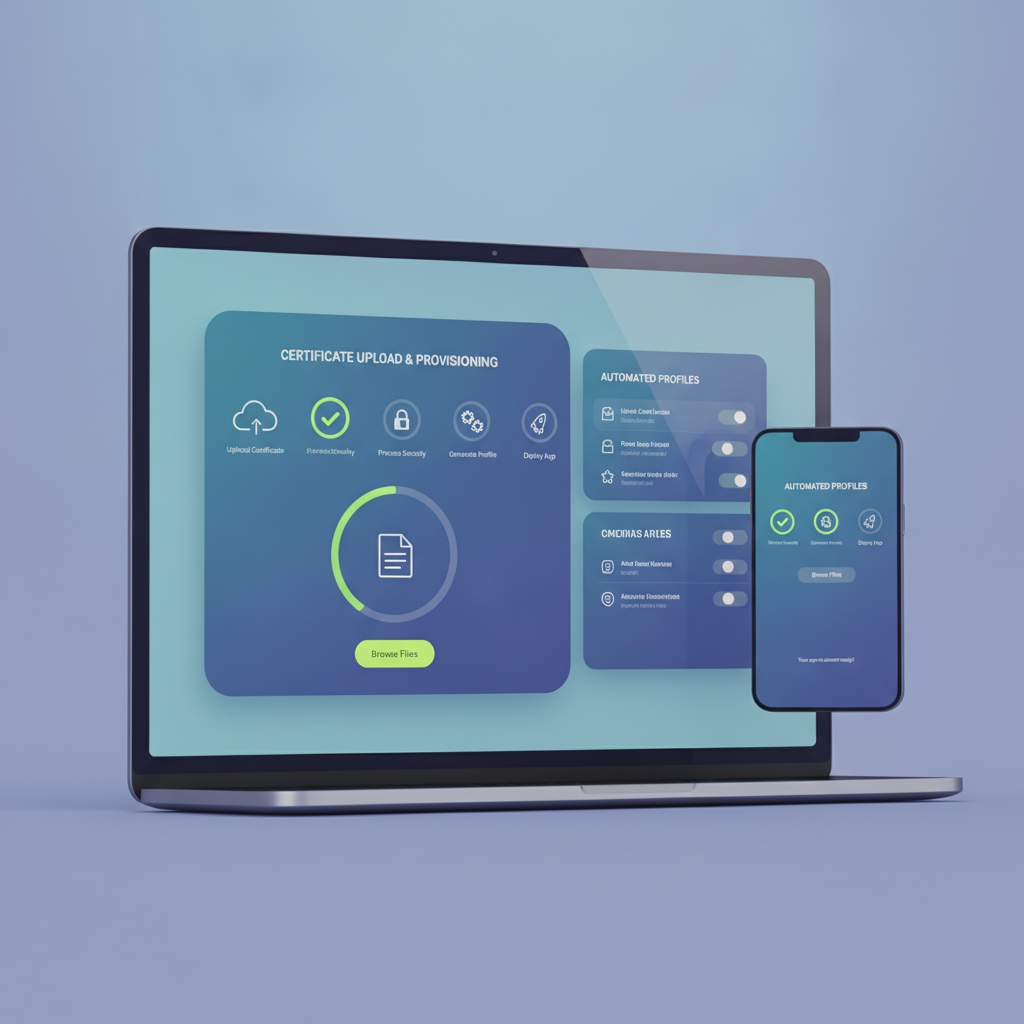
Example: Built-in Store Checklist
Before you export, GetAppQuick prompts you to supply required screenshots, privacy policy links, and metadata. It validates these fields to reduce the chance of review rejection.
Example: Push Notification Integration
If your app needs push notifications, GetAppQuick generates the correct entitlements and provides step-by-step instructions — or even one-click setup — for both iOS and Android.
Practical Tips: How to Get Past the App Store Barriers
If you’re using a no-code platform (GetAppQuick or otherwise), here are practical steps to clear the launch hurdles:
1. Prepare Your Developer Accounts Early
- Register before you finish your app; Apple’s review can take days.
- For organizations, apply for your D-U-N-S number ASAP.
2. Keep Certificate Files Safe
- Download your
.p12certificates and provisioning profiles, and keep secure backups. - Don’t share them publicly; treat them like passwords.
3. Validate All Metadata
- Fill in every field: app description, keywords, privacy policy, support URL.
- Use official screenshot sizes; Apple and Google have strict requirements.
4. Test on Real Devices
- Simulators aren’t enough; test your exported app on real iPhones and Androids.
- Try it on different OS versions where possible.
5. Read Store Guidelines
- Apple: App Store Review Guidelines
- Google: Google Play Policy Center
6. Automate Where Possible
- Use builder features that automate certificate, entitlement, and metadata setup.
- GetAppQuick offers integrated publishing flows to minimize manual steps.
When You Need to Get Technical: A Minimal Guide
Sometimes, you’ll need to touch code or config files to pass review or fix a bug. Here are the most common tasks and how to approach them (using Flutter as an example):
Adding an App Icon
# pubspec.yaml
flutter:
  assets:
    - assets/app_icon.png
Then use flutter_launcher_icons:
flutter pub run flutter_launcher_icons:main
Customizing Permissions (Android)
Edit android/app/src/main/AndroidManifest.xml:
<uses-permission android:name="android.permission.CAMERA"/>
Customizing Permissions (iOS)
Edit ios/Runner/Info.plist:
<key>NSCameraUsageDescription</key>
<string>This app needs camera access to ...</string>
Handling Push Notifications (Flutter)
Add dependencies:
dependencies:
  firebase_messaging: ^14.0.0
Initialize in your Dart code:
FirebaseMessaging messaging = FirebaseMessaging.instance;
NotificationSettings settings = await messaging.requestPermission();
Often, your builder (like GetAppQuick) can scaffold much of this — but when you hit an unfamiliar error, searching for the exact message and posting on developer forums can help.
Key Takeaways
- Building the app is only half the journey; app store publishing introduces technical hurdles — especially certificates, developer accounts, and review requirements.
- Apple’s code signing and developer program are the biggest barriers for non-coders. Start these processes early to avoid last-minute delays.
- Review guidelines are strict and nuanced. Even small issues in metadata, screenshots, or privacy policy links can cause weeks of review back-and-forth.
- No-code platforms like GetAppQuick automate many steps, but some manual configuration is often unavoidable — especially for advanced features or edge cases.
- Stay organized: keep certificates, documents, and screenshots handy, and lean on builder checklists and documentation to maximize your chance of approval.
Conclusion
Building an app without a developer is now a reality — but the last mile of launching on the App Store or Google Play is where many no-code founders get stuck. Knowing what to expect, preparing your developer accounts, and leaning on modern tools can help you navigate these hurdles with confidence.
At DC Codes, we designed GetAppQuick to bridge this gap: not just building your app, but guiding you through every step to a successful launch, with AI-powered automation and human-friendly support.
Ready to ship your idea? Build it in minutes with GetAppQuick.


